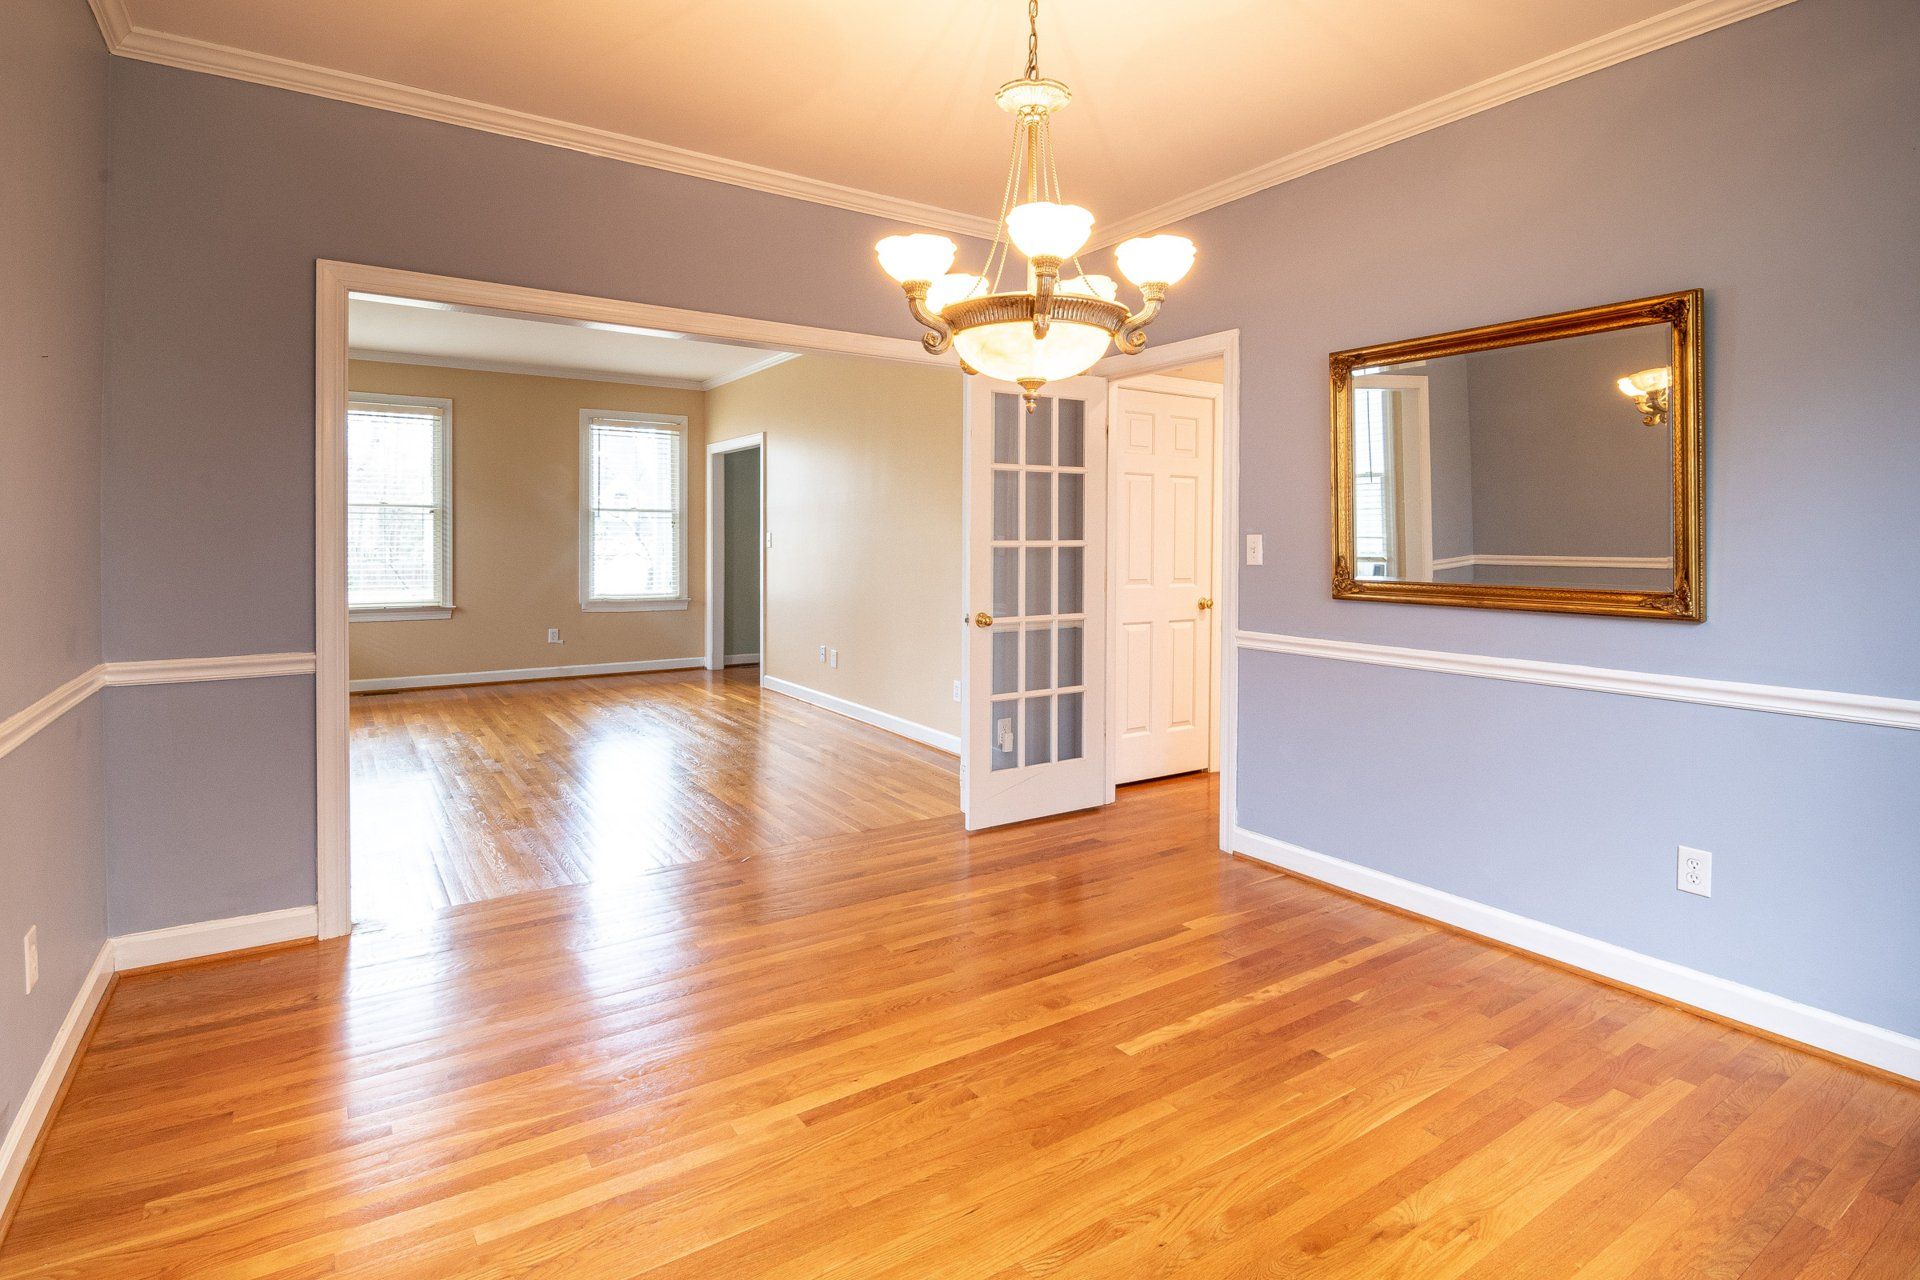
How To Refinish Hardwood Floors Like A Pro?
How To Refinish Hardwood Floors Like A Pro?
Step 1: Prepare your floors for sanding! Get rid of all carpet tacks, nails, or any other object off the floor. We also suggest removing the baseboards completely. This step isn't required; however, it can make the task much easier. If you are installing new molding throughout the house, it is sensible to dispose of the baseboards you have before starting the flooring project.
Step 2: By using the belt sander and 60-grit sandpaper, start sanding the floor. Make sure you sand in the grain. Then you'll need time to get your edge sander. With 60-grit paper, go around the edges, perimeters, and corners of every room to the required degree. Repeat the process using the belt sander as well as edge sanders made of 80-grit sandpaper, followed by 120-grit sandpaper.
Step 3: Make use of the vacuum to remove dust and other debris off the floor. Then wipe it clean.
Step 4: This is vital to this process of staining. It's referred to as water popping. It's the process of soaking the wood in order to raise the grain and open pores on the surface which allows for the wood's surface to take in more stain. This will result in an attractive, even, and saturated color. To achieve this, take the scrap rags, soak them in water, squeeze them out, and then clean the floor in a consistent manner.
Step 5: It's time to begin staining! With the Minwax oil-based stain, apply an applicator pad to the stain, and then place it on the flooring using the grain. You may begin in the corner of each room before working toward the door. When a section is finished, it's vital to wash and remove all stain residue using a clean pad!
Clean the floor with five planks at one time. Don't fall for the roller applicator found at the home improvement store. We tried using it in one area and it was not a success. It is possible to manage the staining process more easily if you do it by hand! It's neater, and even and requires much less time for drying.
Step 6: Let the one layer of staining set for a minimum of 24 to 48 hours (this may vary depending on the humidity or temperature of the area you are in).
Step 7: Apply your first layer of Poly using a smooth foam roller. This should be a light coat! Let it dry for a minimum of 2 hours.
Step 8: Polish the floors using two 20-grit screen. Following buffing, wash and clean the floor thoroughly. It's time for the next coat! Repeat this process until have applied 3 or 4 coats of poly. It will be three coats all over, with the exception of those areas that are very busy where you can apply four coats. That's it! Following the installation of polyurethane your floors are finished.
To get the most out of your floors and the effort you've put into them, we'd suggest only light use (walking in socks) within 24 hours. After the next 48 hours, you are able to put your furniture back on the flooring; however, avoid the addition of rugs or fabrics for a minimum of 7 to 10 days.